Step 1: Define Your Goals And Objectives
Before you start building your event app, it’s important to have a clear understanding of what you want to accomplish with the app.
Do you want to provide attendees with a schedule of events and speakers?
Do you want to facilitate networking among attendees?
Do you want to offer interactive features, such as polls or Q&A sessions?
Do you want to create a new revenue channel from sponsors & exhibitors ?
By defining your goals and objectives upfront, you can ensure that your app is tailored to meet the needs of your event.
And limit your core features to not more than four.
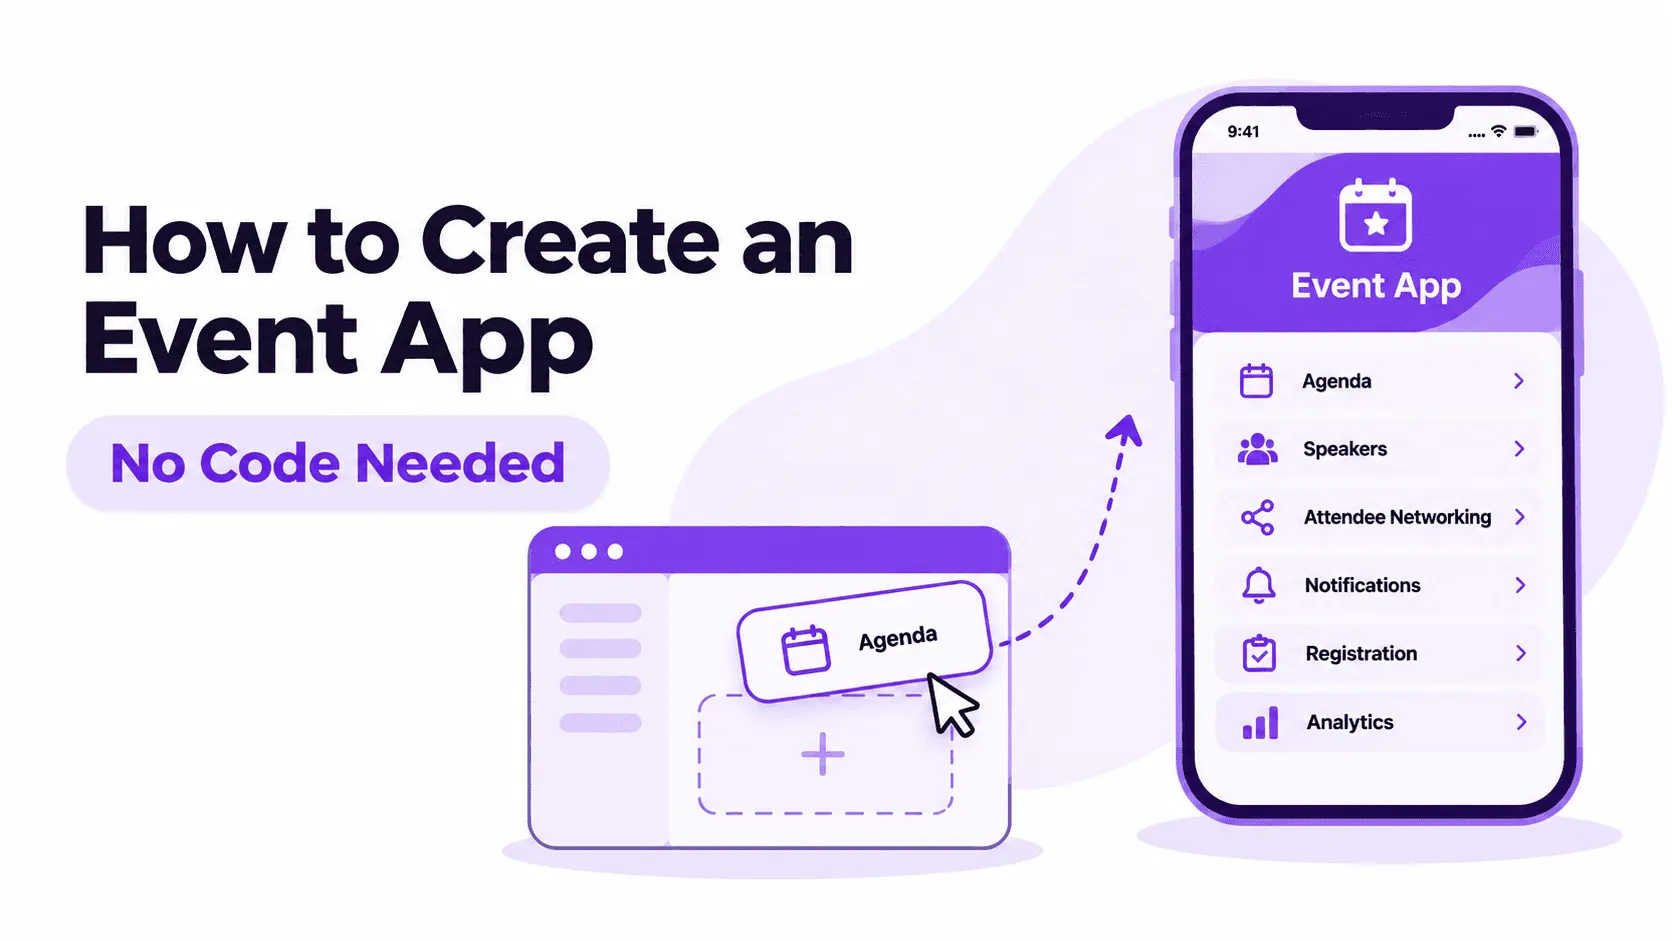
Step 2: Event app development: build it, hire an agency, or use a no-code builder
There are three ways to get an event app. The right one depends on your timeline, your budget and how many events you run.
Build it in-house. Fits companies with their own mobile developers that plan to run one app for years. You control everything, but your team also builds and maintains login, the agenda, push notifications and app store releases. It’s the slowest option.
Hire an event app development company. Fits a one-off app with needs no builder covers. You get a custom build, but every change after launch goes through the agency.
Use a no-code event app builder. Fits most event teams, including teams that run several events a year. You pick features, brand the app and publish it yourself. During the event you update the agenda in minutes, without waiting on anyone’s tech team. See the best event apps compared.
The rest of this guide uses a no-code builder.
Step 3: Design and brand your event app
Once you’ve chosen the most suitable event app software, it’s time to design your event app.
This is another critical piece since the app should reflect you brand not the service provider’s brand.
This includes deciding on the layout and user interface, as well as the specific features and functionality you want to include.
Ensure your event app platforms allow you to customize the look and feel of your app to match your event’s branding by selecting a color scheme, adding a logo, background and graphics. If you don’t have a in-house designer you can use a logo maker to create a custom logo for your event app. You can also explore stock images and backgrounds that match your event’s brand
Step 4: Add your content
An event app is only as useful as what's inside it. Start with the agenda. In Nunify you can import your agenda from Excel: download the template, fill in your sessions and upload it.
Then add your speakers, sponsors and attendees. Attendees sign in with their registered email and a one-time PIN, so nobody has a password to forget.
Tip: once the event is live, import new sessions in add mode. The replace mode deletes the ratings, questions and polls tied to existing sessions.
Step 5: Preview And Test
Before you launch your event app, it’s important to test it thoroughly to ensure that it’s functioning properly.
This includes testing the app on multiple devices and operating systems to ensure compatibility, as well as fixing any errors that you encounter.
Go to airplane mode and see how the mobile event app behaves. You should create an event app that can operate with no or poor network connectivity
Share the event app with your colleagues and test functionalities like chat, live streaming and other networking features.
Step 6: Launch And Promote The App
Once you’ve created and tested your event app, it’s time to launch it, make it available and promote it to your attendees.
You can promote the app through email marketing, social media, and other channels to encourage attendees to download and use it during the event.
You can start taking registrations, selling tickets and promote shareable landing pages withQR codes to download your event app.
Admins can manage the app from their phone during the event.
That’s not it.
Step 7: Track Usage And Get Actionable Insights
After you’ve launched your event app, it’s important to encourage attendees to use all the features you have added.
You can do so by sending personalized push notifications for session reminders, contests and announcements.
Boost engagement with polls, surveys, quizzes, scavenger hunts and more within the event app.
Make room for networking with Virtual business card exchange, private and public chats, meeting tables and expos.
Additionally, event app platforms also offer analytics and tracking tools that allow you to see how the app features are being used as well as download the reports.
By following these steps and using a reliable event app platform, you can create a custom event app that meets your needs and helps enhance the attendee experience. Whether you’re organizing a small/big conference or a trade show, an event app can help attendees stay informed and engaged, not just during the event, but also before and after the event.
Let us demonstrate Nunify’s event app builder platform and get you started!
Shared app, your own branded app, or web app?
There are three ways to put your event in front of attendees.
Inside the Nunify app. Your event is live the moment you publish. Attendees download the Nunify app and sign in with their email and a one-time PIN.
Web app. Attendees open a link. No download. Setting it up on your own domain usually takes 1 working day.
Your own app in the App Store and Google Play. Your name and icon are in the stores. You need Apple and Google developer accounts. Nunify submits the app once you send the assets, and it goes live after Apple and Google approve it. Plan for at least 2 weeks.
Tip: if your event is less than 2 weeks away, start inside the Nunify app.
Custom event app vs a template
A custom event app built from scratch needs developers. Most custom event app builders start you on a template instead, so you have a working app on day one. In Nunify you can change all of this without code:
- Branding: logo, colors and splash screen
- Menu: what attendees see, and in what order
- Features: turn on only what your event needs
Want a bespoke app with your own name in the app stores? See our guide to a white label event app.
Building an app for a conference, trade show or corporate event
Conference. People come for the sessions and the people. Put the agenda first, with speaker profiles and personal schedules. Then make networking easy with attendee profiles, chat and meeting rooms. Add event app gamification to keep people in the app between sessions.
Trade show. Exhibitors pay to meet buyers. Give attendees an exhibitor list they can search. Give exhibitors lead capture: they scan an attendee's QR code from the app or the badge. In Nunify, this comes with the Expo add-on.
Corporate event. Employees already know each other. The job is keeping them informed and heard. Use push notifications for updates, and live polls and Q&A in sessions.
What to look for in an event app builder
These are the event app features that save organizers the most time:
- No developer needed. You build and publish the app yourself.
- Excel import. Bring in a full agenda in one upload.
- Live preview. See every change before attendees do.
- Admin from your phone. Fix a room change or send a poll from the event floor.
- Push notifications. Tell every attendee about a change at once.
- Integrations. Nunify connects with HubSpot, Salesforce, Zapier and Eventbrite.
- Security. Look for SOC 2 Type II, ISO 27001 and GDPR. Nunify has all three.
- 24x7 support. Nunify includes it on every plan.
One more thing to check: if your event runs inside a container app like Nunify's, your changes go live without an app store update.
Example: Uniphore
Uniphore ran SKOFY, its employee-only conference, for 200+ people from several countries on a white-labeled Nunify app. Nearly 40 people used to coordinate the event. With the app, one person managed it. Attendee participation rose 56%.
“The interaction (at the former events) was very, very… It was dead. The engagement was pretty much through just emails and people could only see each other only when they came together.”
- Mehak, Growth Marketing Manager, Uniphore
Read the Uniphore case study.